Getting to X
After
having prepared a bunch of libraries,
the idea was to get X in shape. I’d like to thank Julien Cristau
very much for his support all along the way, since I knew nothing
about X.
Basically the plan was to get:
xserver-xorg-core-udeb:Xitself.xserver-xorg-input-evdev-udeb: for input, as you probably guessed.xserver-xorg-video-fbdev-udeb: for output, as you also probably guessed.
Not much to say about the former, it only pulled two additional
libraries compared to what was previously udeb-ified: libaudit0
and libselinux1. Since security modules aren’t the primary concerns
in this exercise, --enable-xselinux quickly became
--disable-xselinux and those dependencies went away. Both drivers
were trivial to tweak, nothing really worth noting there.
Once those 3 additional packages added to localudebs/ and to
pkg-lists/local, the mklibs tool really wasn’t happy with them
during the rebuild of the netboot image, since the drivers are X
plugins, meaning they need symbols which aren’t defined in other
libraries. Example:
No library provides non-weak EventSwapVector
Since the idea is to get something working rather than getting
something perfect at once, d-i’s packages/mklibs/src/mklibs.py
(installed as /usr/bin/mklibs) was told to stop raising an
exception, and to print a warning message instead. Rebuilding an image
was then working again.
It took some time, but finally it got noticed those packages were
actually all installed in the initramfs, so there was no need to try
and load/install them manually during the installation process,
everything was there already, and it was sufficient to switch to VT2
to see the /usr/bin/Xorg binary.
Some packages were still needed: xkb-data, and x11-xkb-utils. The
latter also pulled libxkbfile1, but well, an additional library
doesn’t sound very scary.
At this point, one has to try and run Xorg. The result was a black
screen, and no means of getting back to another terminal, be it inside
Qemu or VirtualBox.
Troubleshooting X
First idea: adding the openssh-server-udeb package to the image, and
start sshd from there. But then one has to go through the missing
config file, tweaking privilege separation, generating a host key,
setting a password, etc. And for whatever reasons, it wasn’t possible
to access it. That’s where the
DebianInstaller/NetworkConsole
page on the Debian Wiki came into play: it
includes a few steps to get a working sshd within d-i,
painlessly.
So, X was actually starting properly, but getting a black screen is
now the default. One wants X -retro to get the well-known old
behaviour.
From udevadm info --export-db, it looked like input stuff were
missing, and indeed, udev-udeb doesn’t include /lib/dev/input_id
and /lib/udev/rules.d/60-persistent-input.rules. Since scp seems
broken, wget from the host did the trick followed by chmod +x
for the input_id file, otherwise that doesn’t work so well.
But still, there were some missing evdev stuff. And indeed evdev
wasn’t to be seen in lsmod, nor available to be modprobe’d.
That’s where it became a little dirtier: wget and udpkg on
mouse-modules-2.6.30-2-amd64-di, followed by depmod to make sure,
and then modprobe was OK. A little udevadm trigger run to ensure
udev was fully aware of the new situation, and restarting X… led
to a moving cursor there, as well as a working keyboard, since it was
possible to switch between terminals!
Prove it!
Alright, I’m proudly providing you with a screenshot:
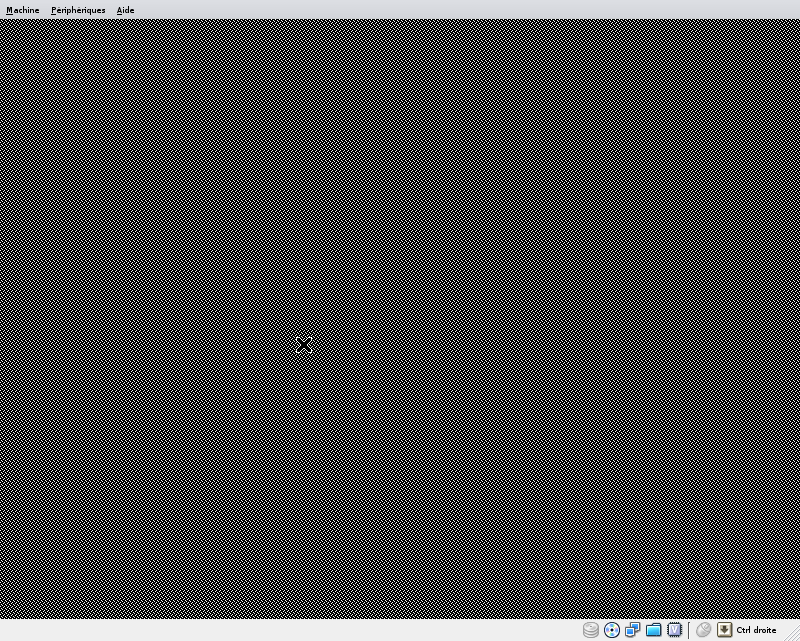
(Really, I’ve never been so happy to see this fracking black-and-grey-grid screen. I kid you not!)
If we forget about the very few network-console-related questions
answered to get an sshd running, please note that the installation
process is still just starting, the very first debconf question is
still unanswered.
Now, patching udev again so that udev-udeb includes the two
mentioned files was almost easy (details aren’t important anyway),
while pulling evdev.ko module automatically was trivial, just a
matter of adding such a line to a packages list (I picked
pkg-lists/netboot/amd64.cfg):
mouse-modules-${kernel:Version}
Which means one can now, out of the box:
- Boot the ISO, select Install.
- Wait for the first question to appear.
- Switch to another terminal, and activate it.
- Run
Xorg -retrothere.
Next step
Rework the Pango/Cairo/Gtk stack to use X11 instead of DirectFB.